Alerts Modification
Provides a detailed overview of how to modify the existing alerts and how to create a new alerts with the available metrics.
Modifying an Existing Alert Rule
Section titled “Modifying an Existing Alert Rule”1. Navigate to Alerts
Section titled “1. Navigate to Alerts”
- From the left-hand sidebar menu, click on Alerts.
- On the ‘Alert Rules’ page, ensure the Custom Alerts tab is selected.
- Find the specific alert rule you wish to modify in the list. It will typically have a LIVE status.
2. Initiate Edit Mode
Section titled “2. Initiate Edit Mode”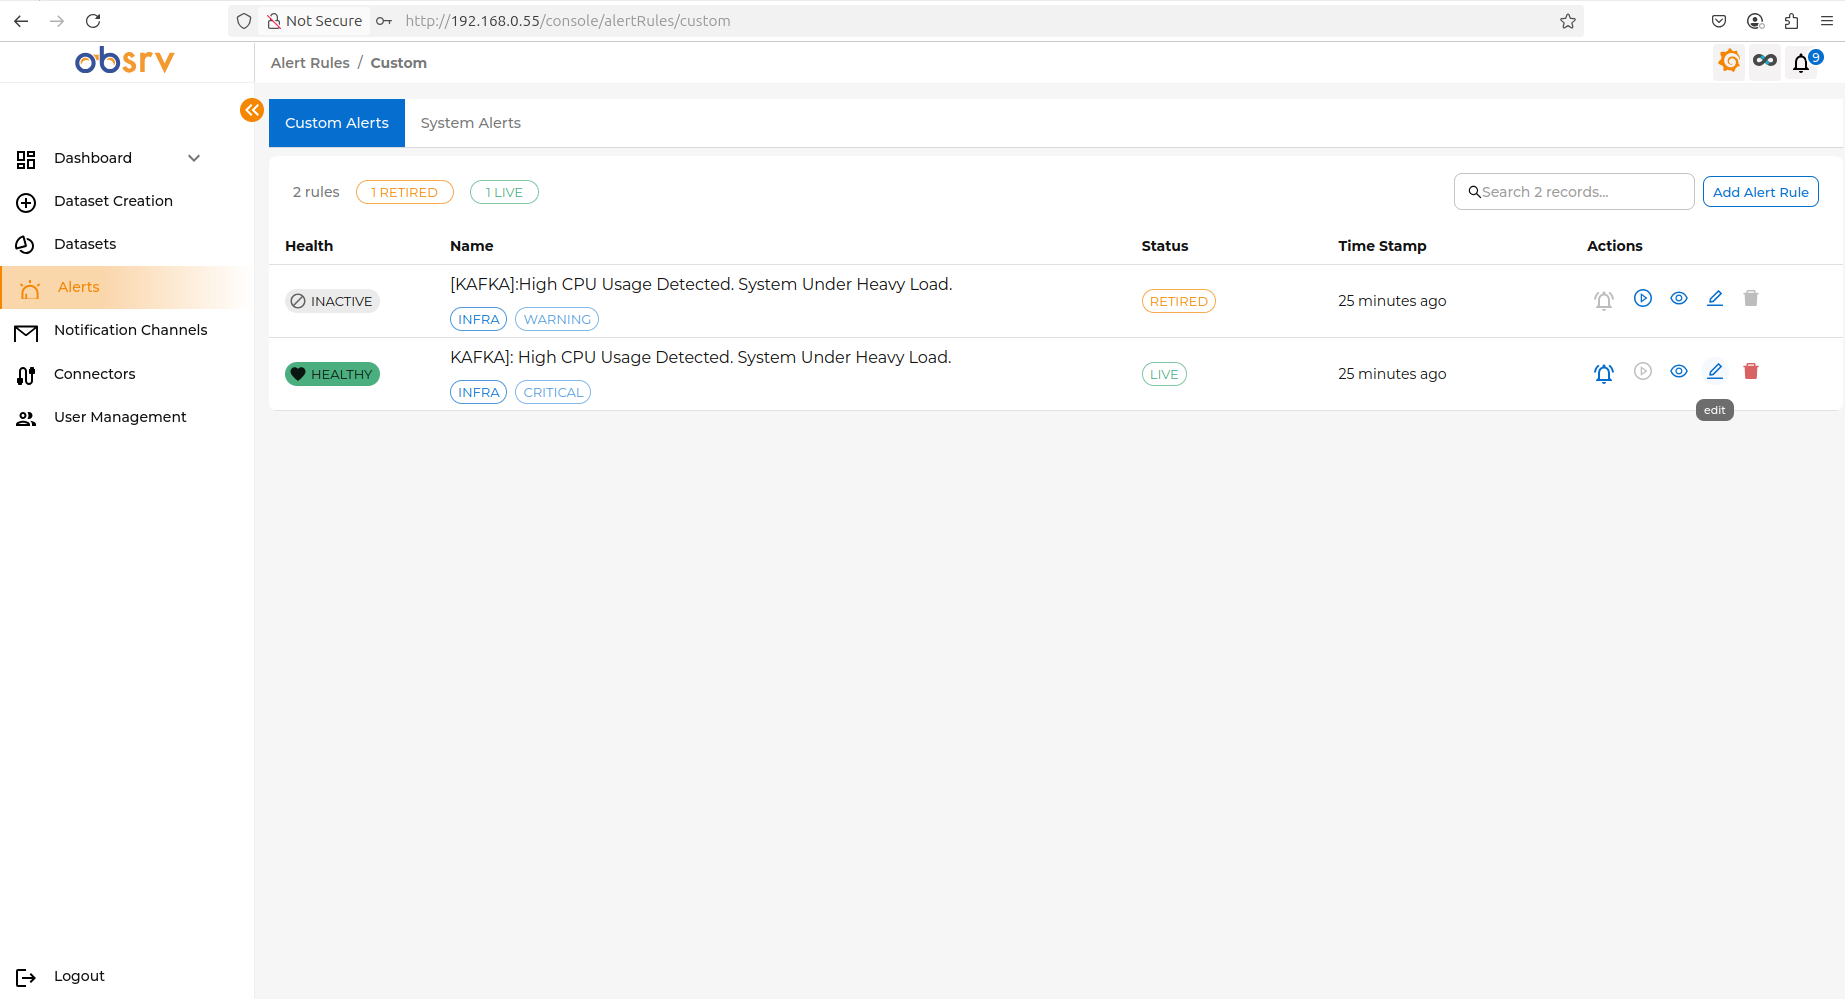
- In the row corresponding to your chosen alert rule, look under the Actions column.
- Click the edit icon to start modifying.
3. Make Your Modifications
Section titled “3. Make Your Modifications”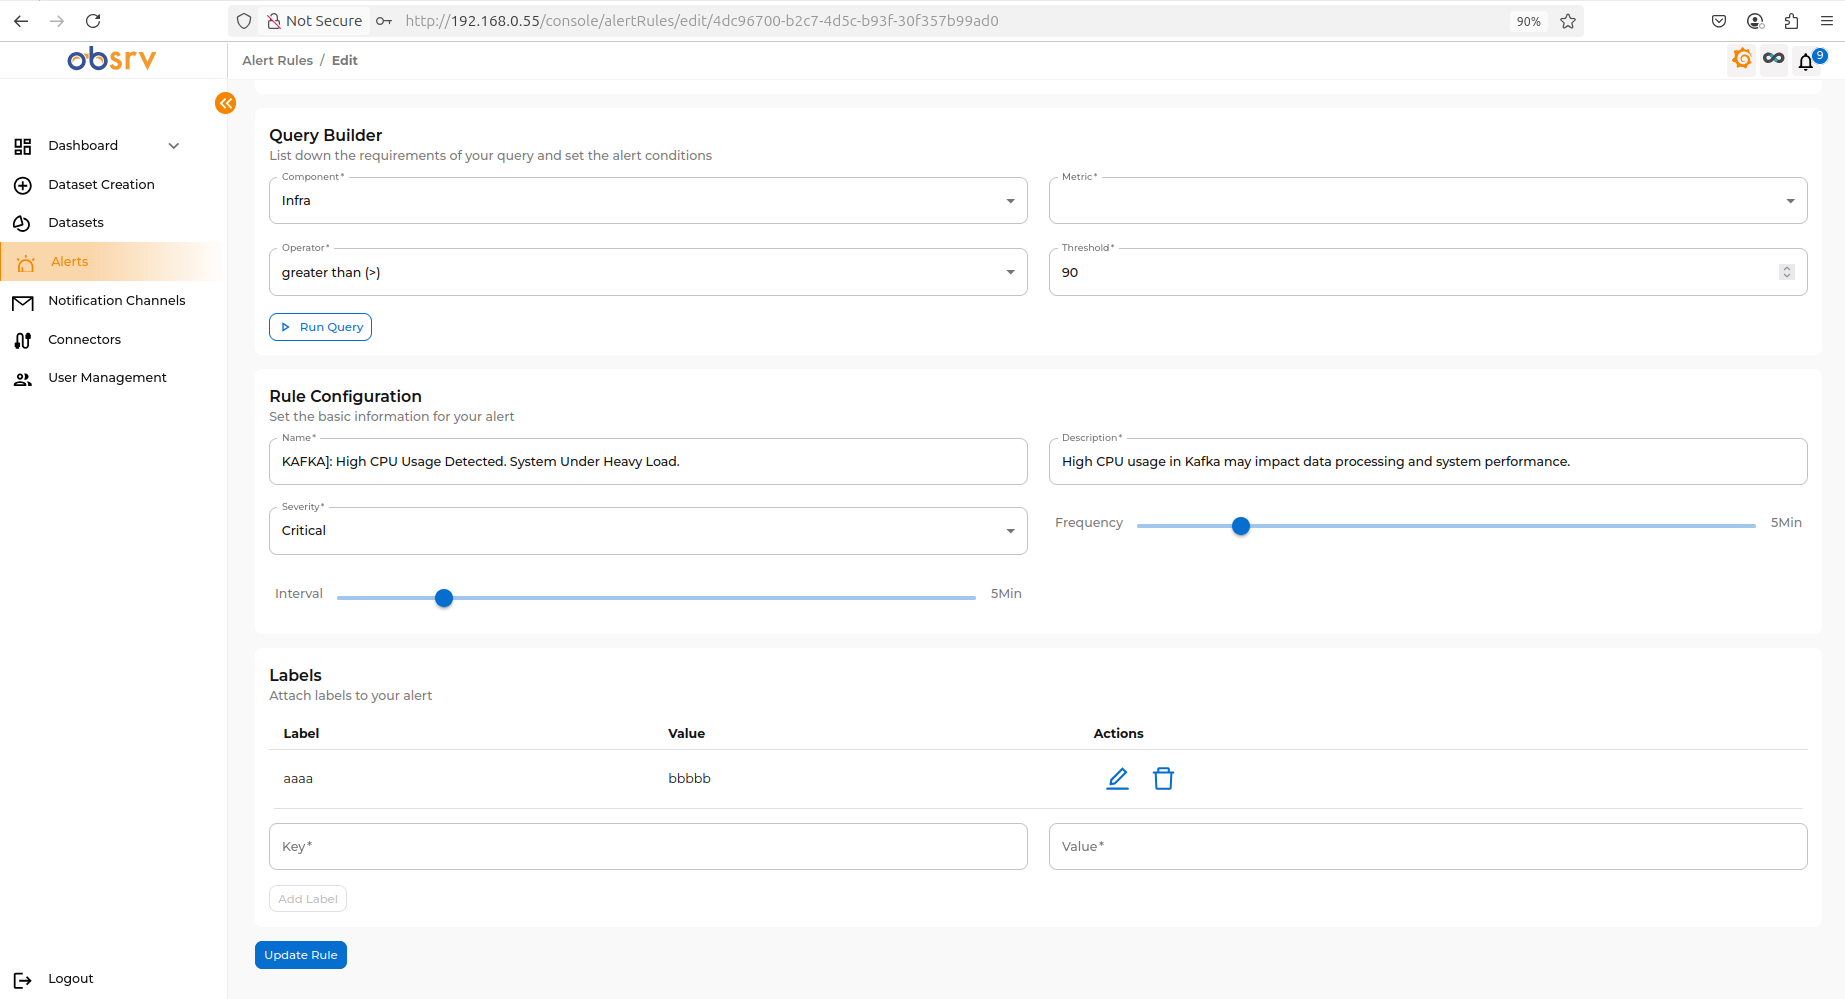
- You will be taken to the rule’s configuration page, pre-filled with its current settings.
- This page contains the same configuration options (Query Builder, Rule Configuration, Labels) to edit.
- Edit the necessary configurations. For detailed guidance on configuring these options, please refer to Creating the Alert Rule.
- Once you have finished making your changes, scroll to the bottom of the page.
- Click the Update Rule button.
4. Publish the Changes
Section titled “4. Publish the Changes”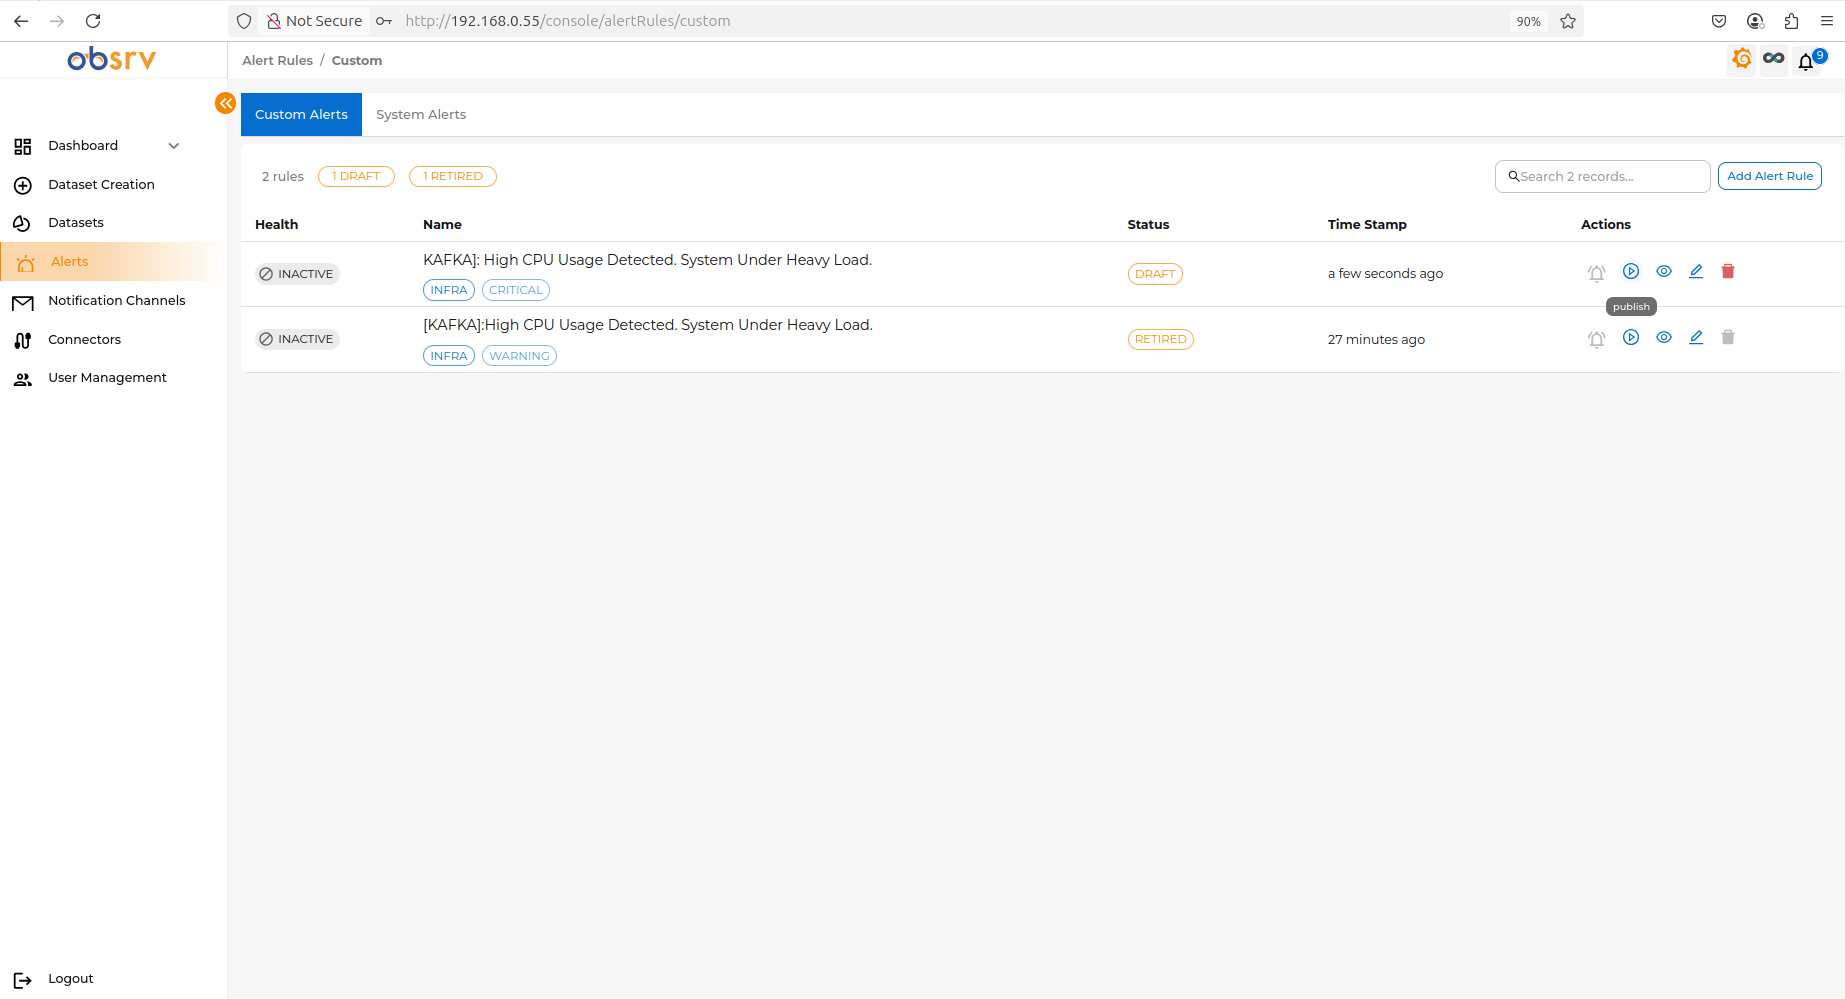
- After clicking ‘Update Rule’, you will be returned to the ‘Alert Rules’ list.
- Notice that the status of the rule you just edited has changed to DRAFT.
- To make your updated alert rule LIVE, find the rule in the list and click the Publish button located in the Actions column.
- After clicking on publish, the modified alert rule will be LIVE.