Register a Connector
This documentation provides a detailed overview of how to add a source connector to pull the data from the external systems
Introduction
Section titled “Introduction”Connectors are key to automating the ingestion of data into Obsrv; they connect external datasources to your Obsrv Datasets. This guide details the process of adding your first connector. You’ll learn how to add and configure your first Kafka connector and connect it in a dataset.
Prerequisites:
- You will require a zipped connector with the .gz file format.
1. Navigate to Connectors
Section titled “1. Navigate to Connectors”
- Log in to your Obsrv instance.
- From the main Dashboard, locate the left-hand navigation menu.
- Click on the Connectors in the menu. This will take you to the Connectors List page.
2. Initiate Connector Addition
Section titled “2. Initiate Connector Addition”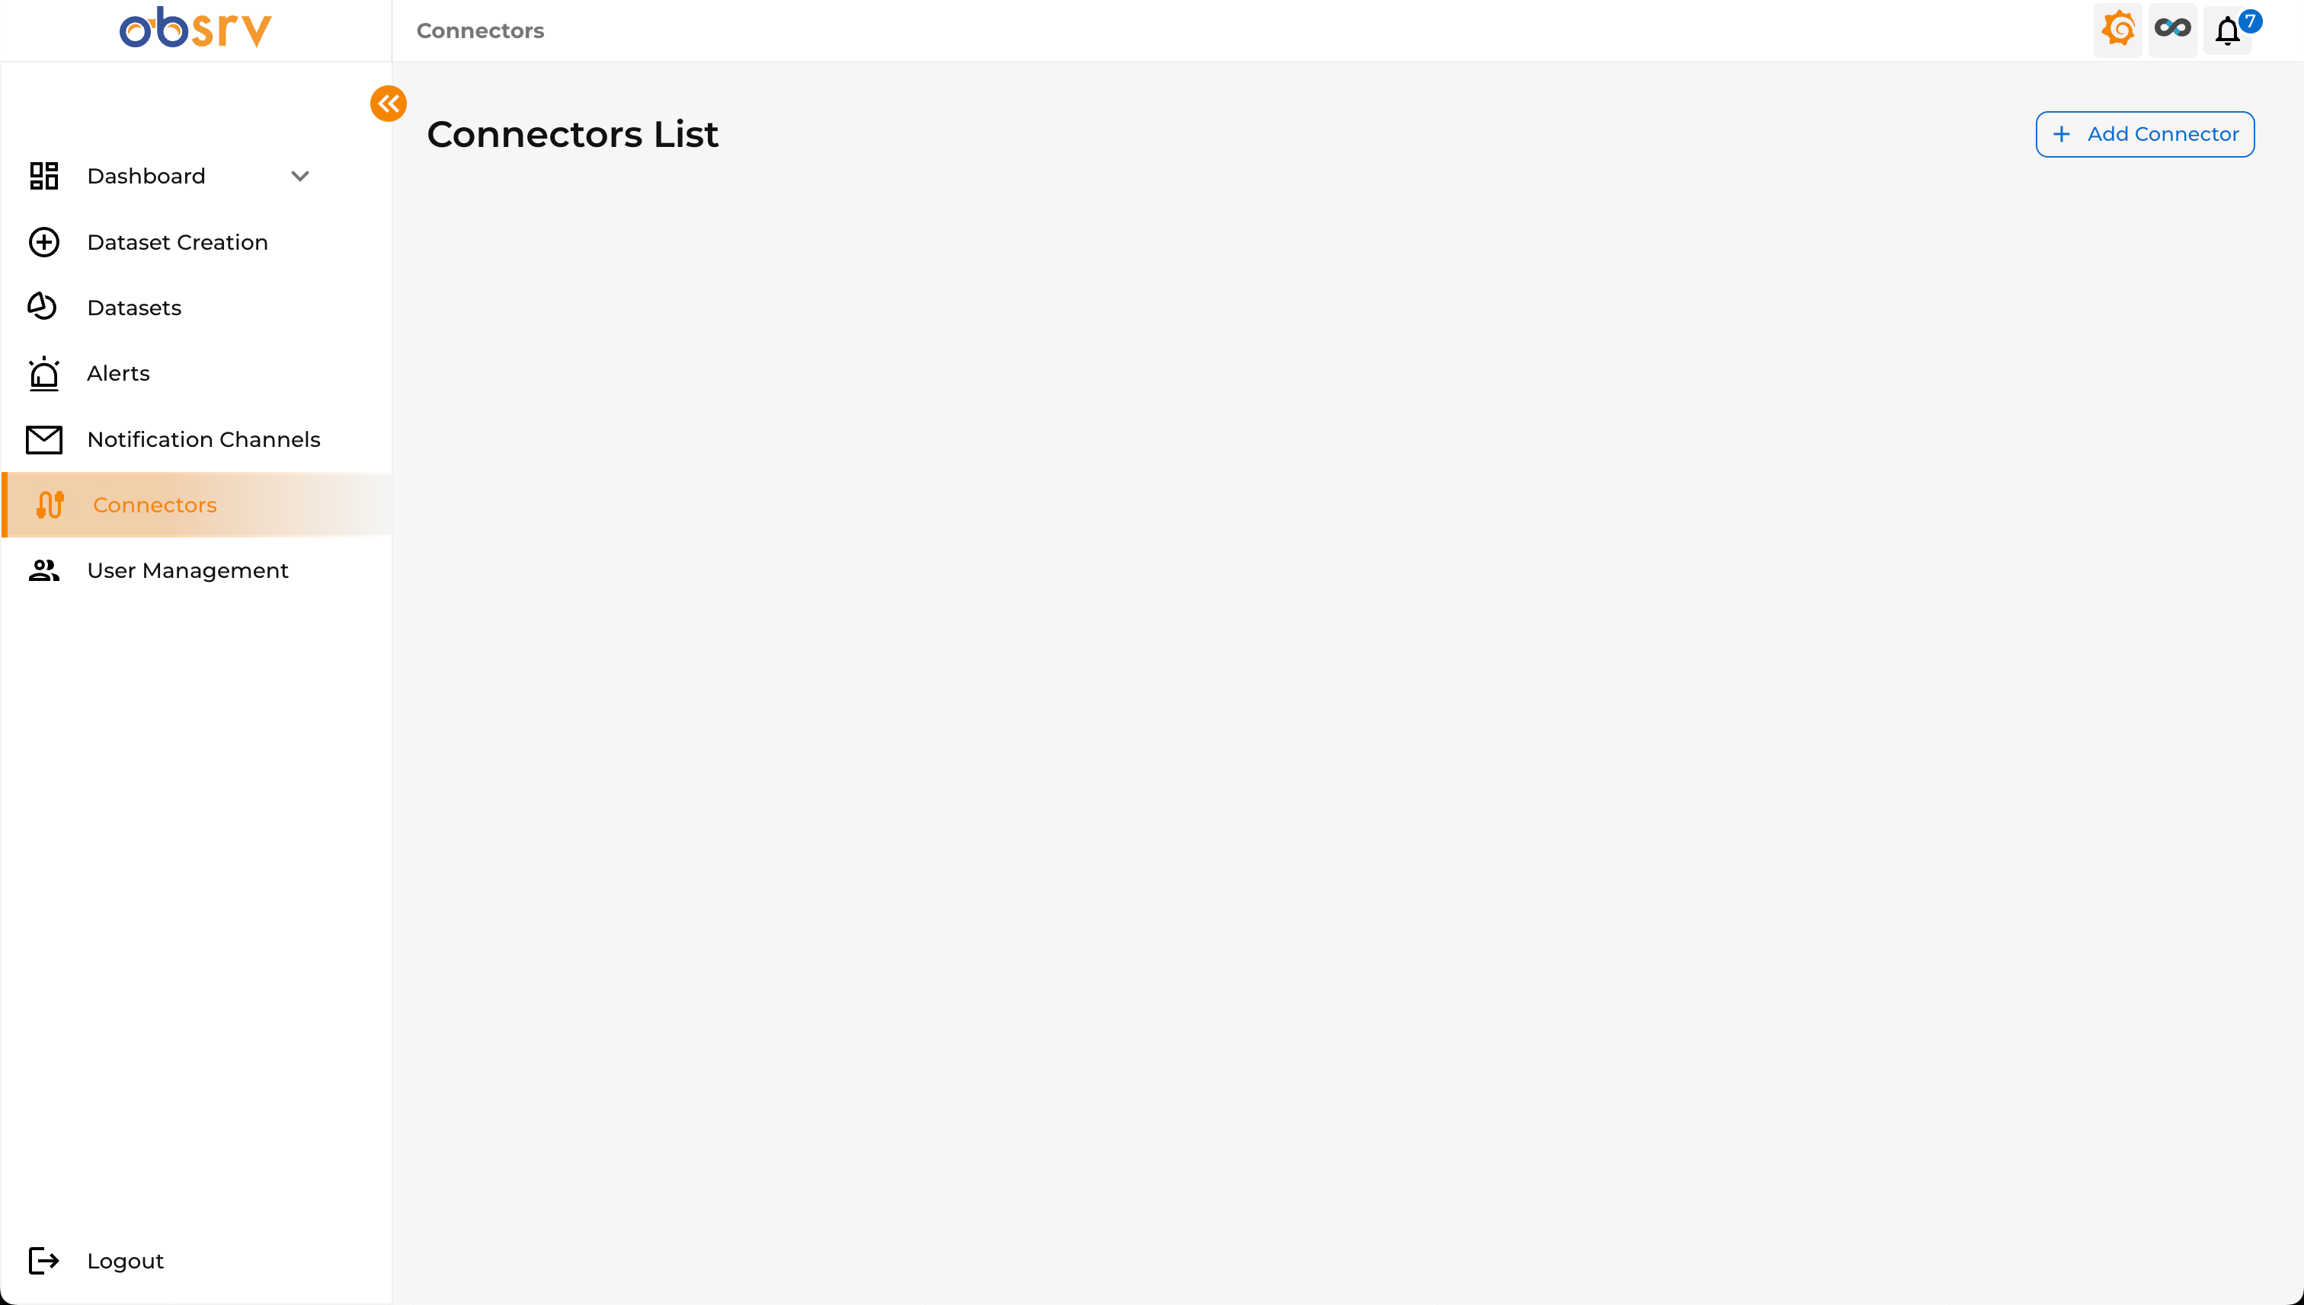
- On the Connectors List page, click the + Add Connector button, typically located in the top-right corner.
3. Upload Your Connector
Section titled “3. Upload Your Connector”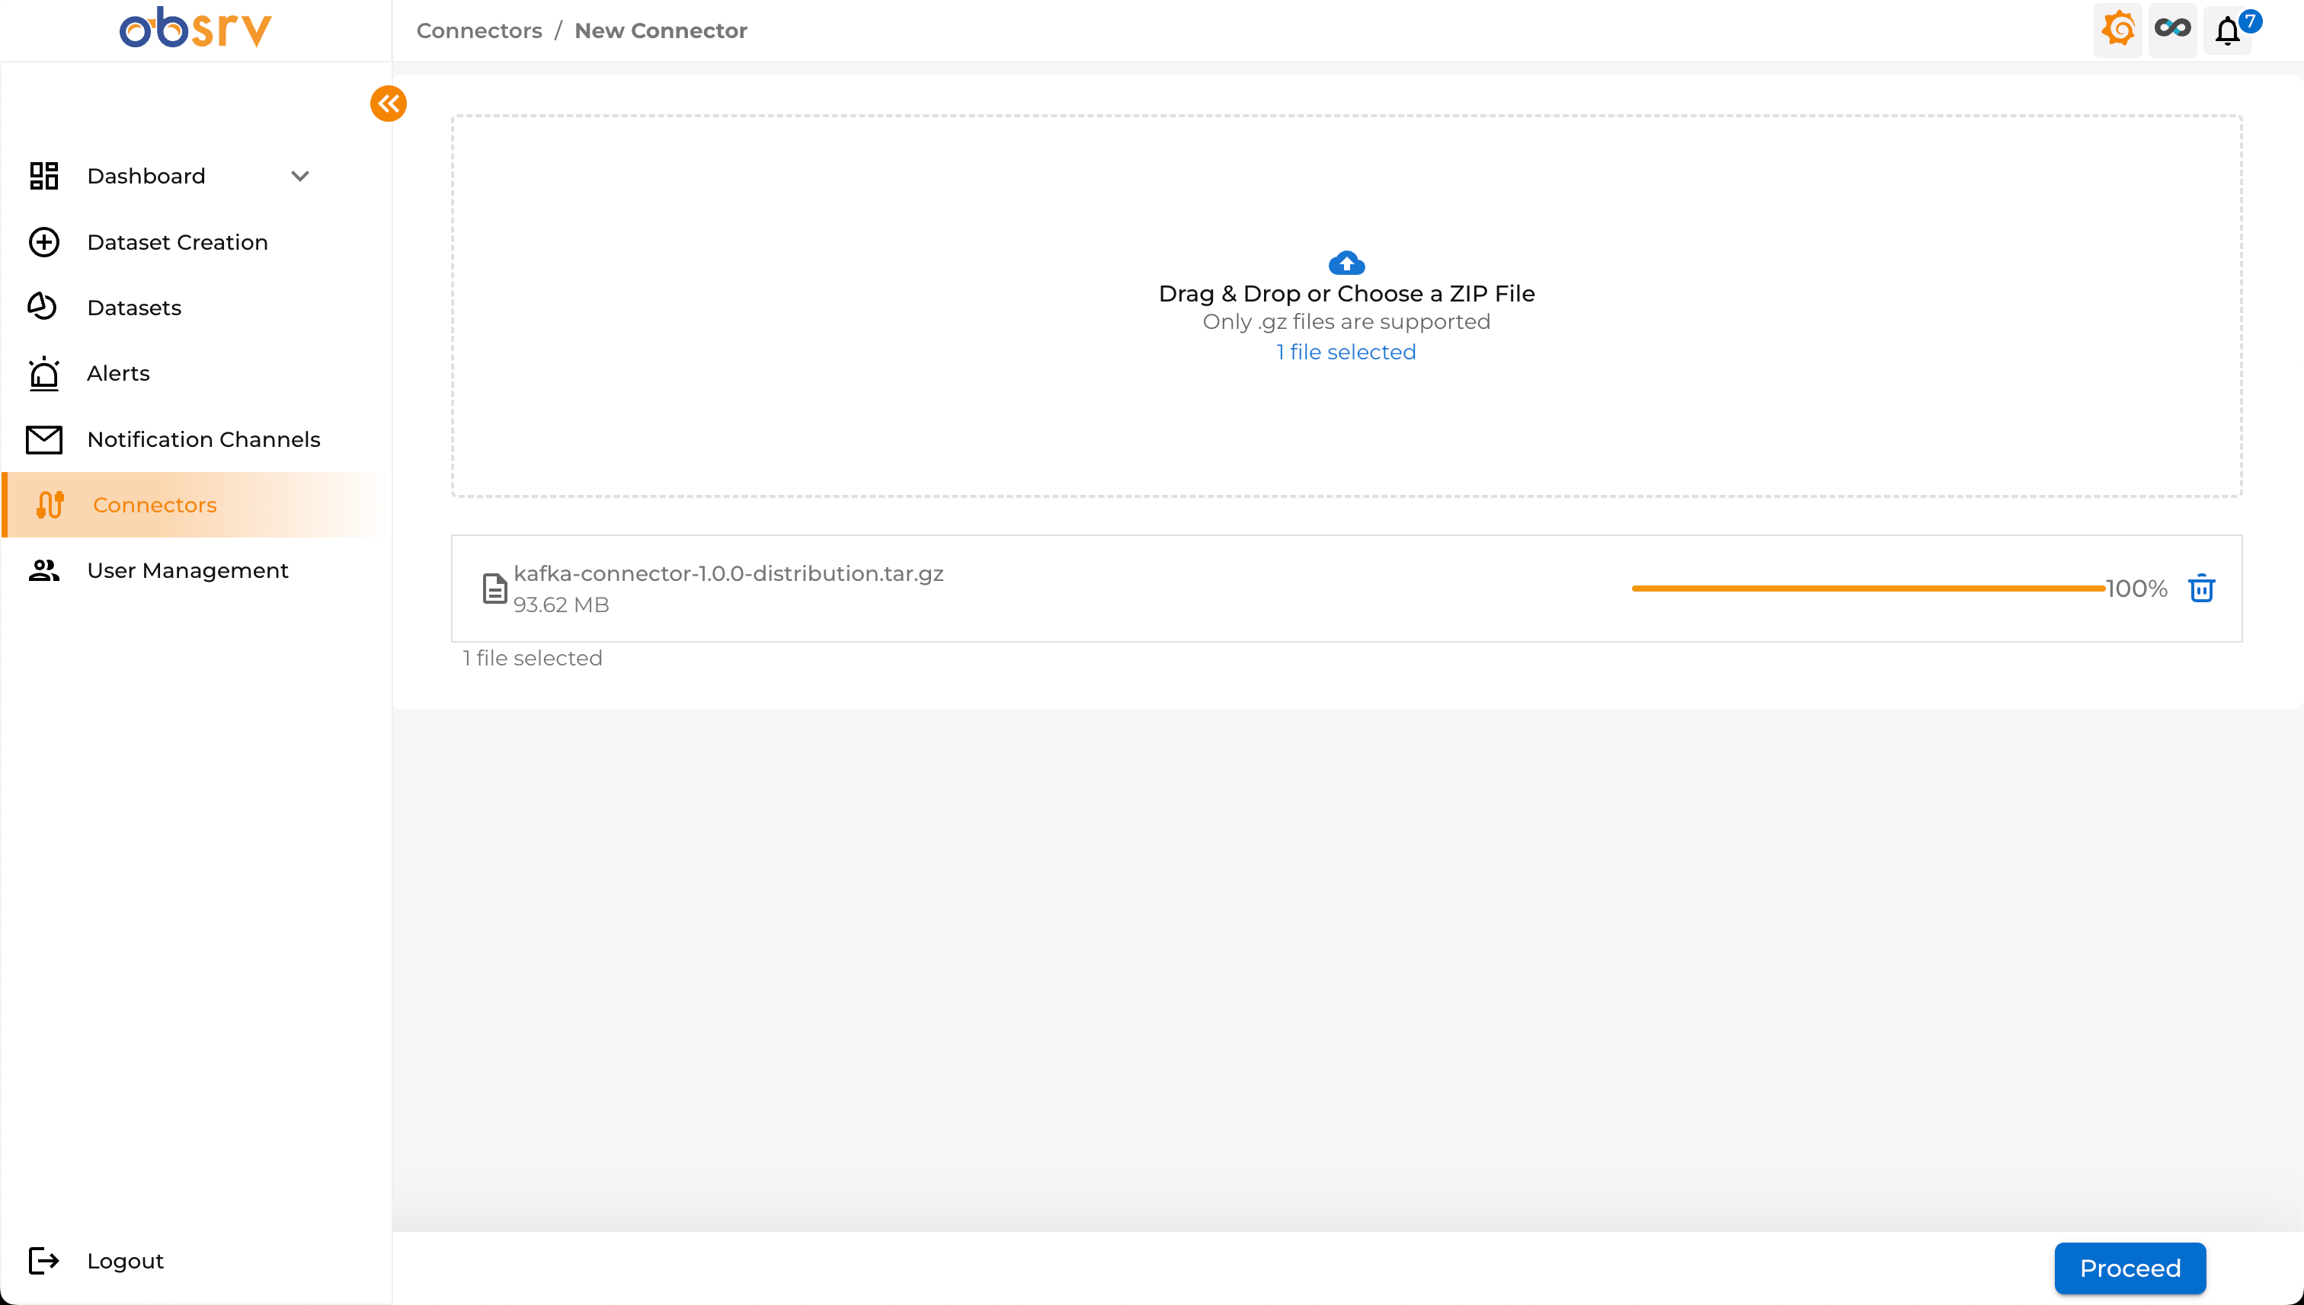
- You will be redirected to the New Connector page.
- This page presents a designated area prompting you to “Drag & Drop or Choose a ZIP File”. Note: Only .gz files are supported.
- You can either:
- Drag your connector’s
.gzfile from your computer and drop it onto the designated area. - Click on the designated area to open your system’s file browser, navigate to your connector’s
.gzfile, and select it.
- Drag your connector’s
- Once selected, the file name (e.g.,
kafka-connector-1.0.0-distribution.gz), its size, and an upload progress bar will appear. - Wait for the upload to complete (progress bar reaches 100%).
- Click the Proceed button.
4. Wait for Processing
Section titled “4. Wait for Processing”
- The system will now process the uploaded connector file. A loading screen will appear displaying a message “Loading… Please wait while we process your request”.
- This step may take a few moments depending on the connector size and system resources.
5. Verify Connector Addition
Section titled “5. Verify Connector Addition”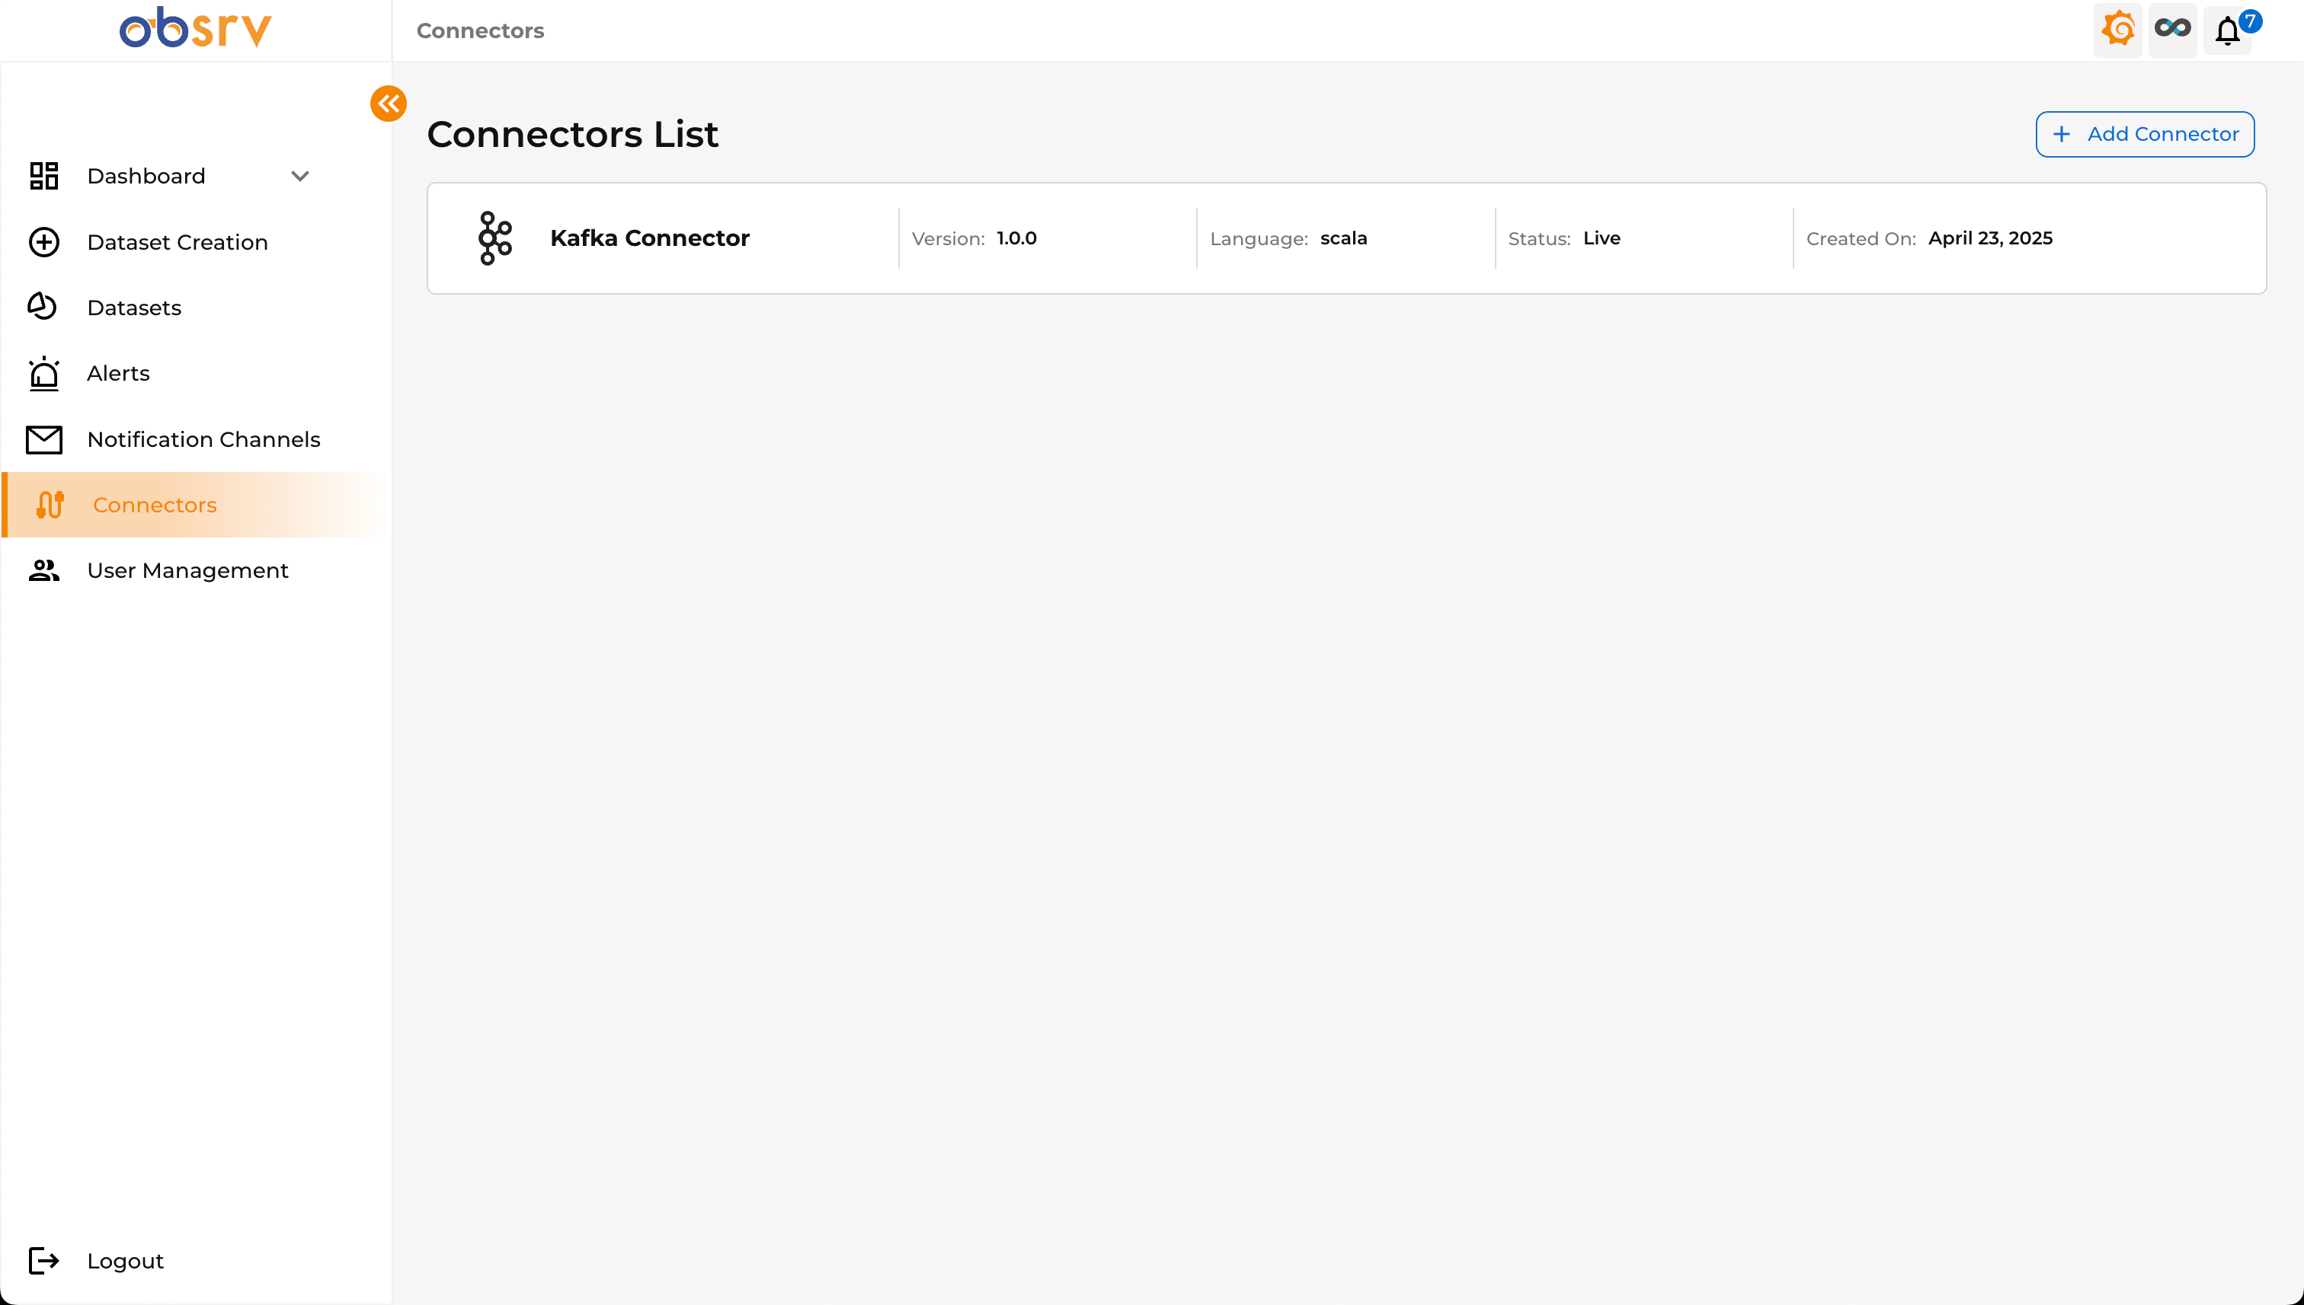
- Once processing is complete, you will be automatically redirected back to the Connectors List page.
- Your newly added connector should now appear in the list.
- Verify that the connector details (e.g., Name: “Kafka Connector”, Version, Language, Status “Live”, Created On date) are displayed correctly.
Now let us use your connector to create a dataset!
6. Navigate to Dataset Creation
Section titled “6. Navigate to Dataset Creation”
- From the Connectors page, locate the left-hand navigation menu.
- Click on the Dataset Creation option.
7. Initiate New Dataset
Section titled “7. Initiate New Dataset”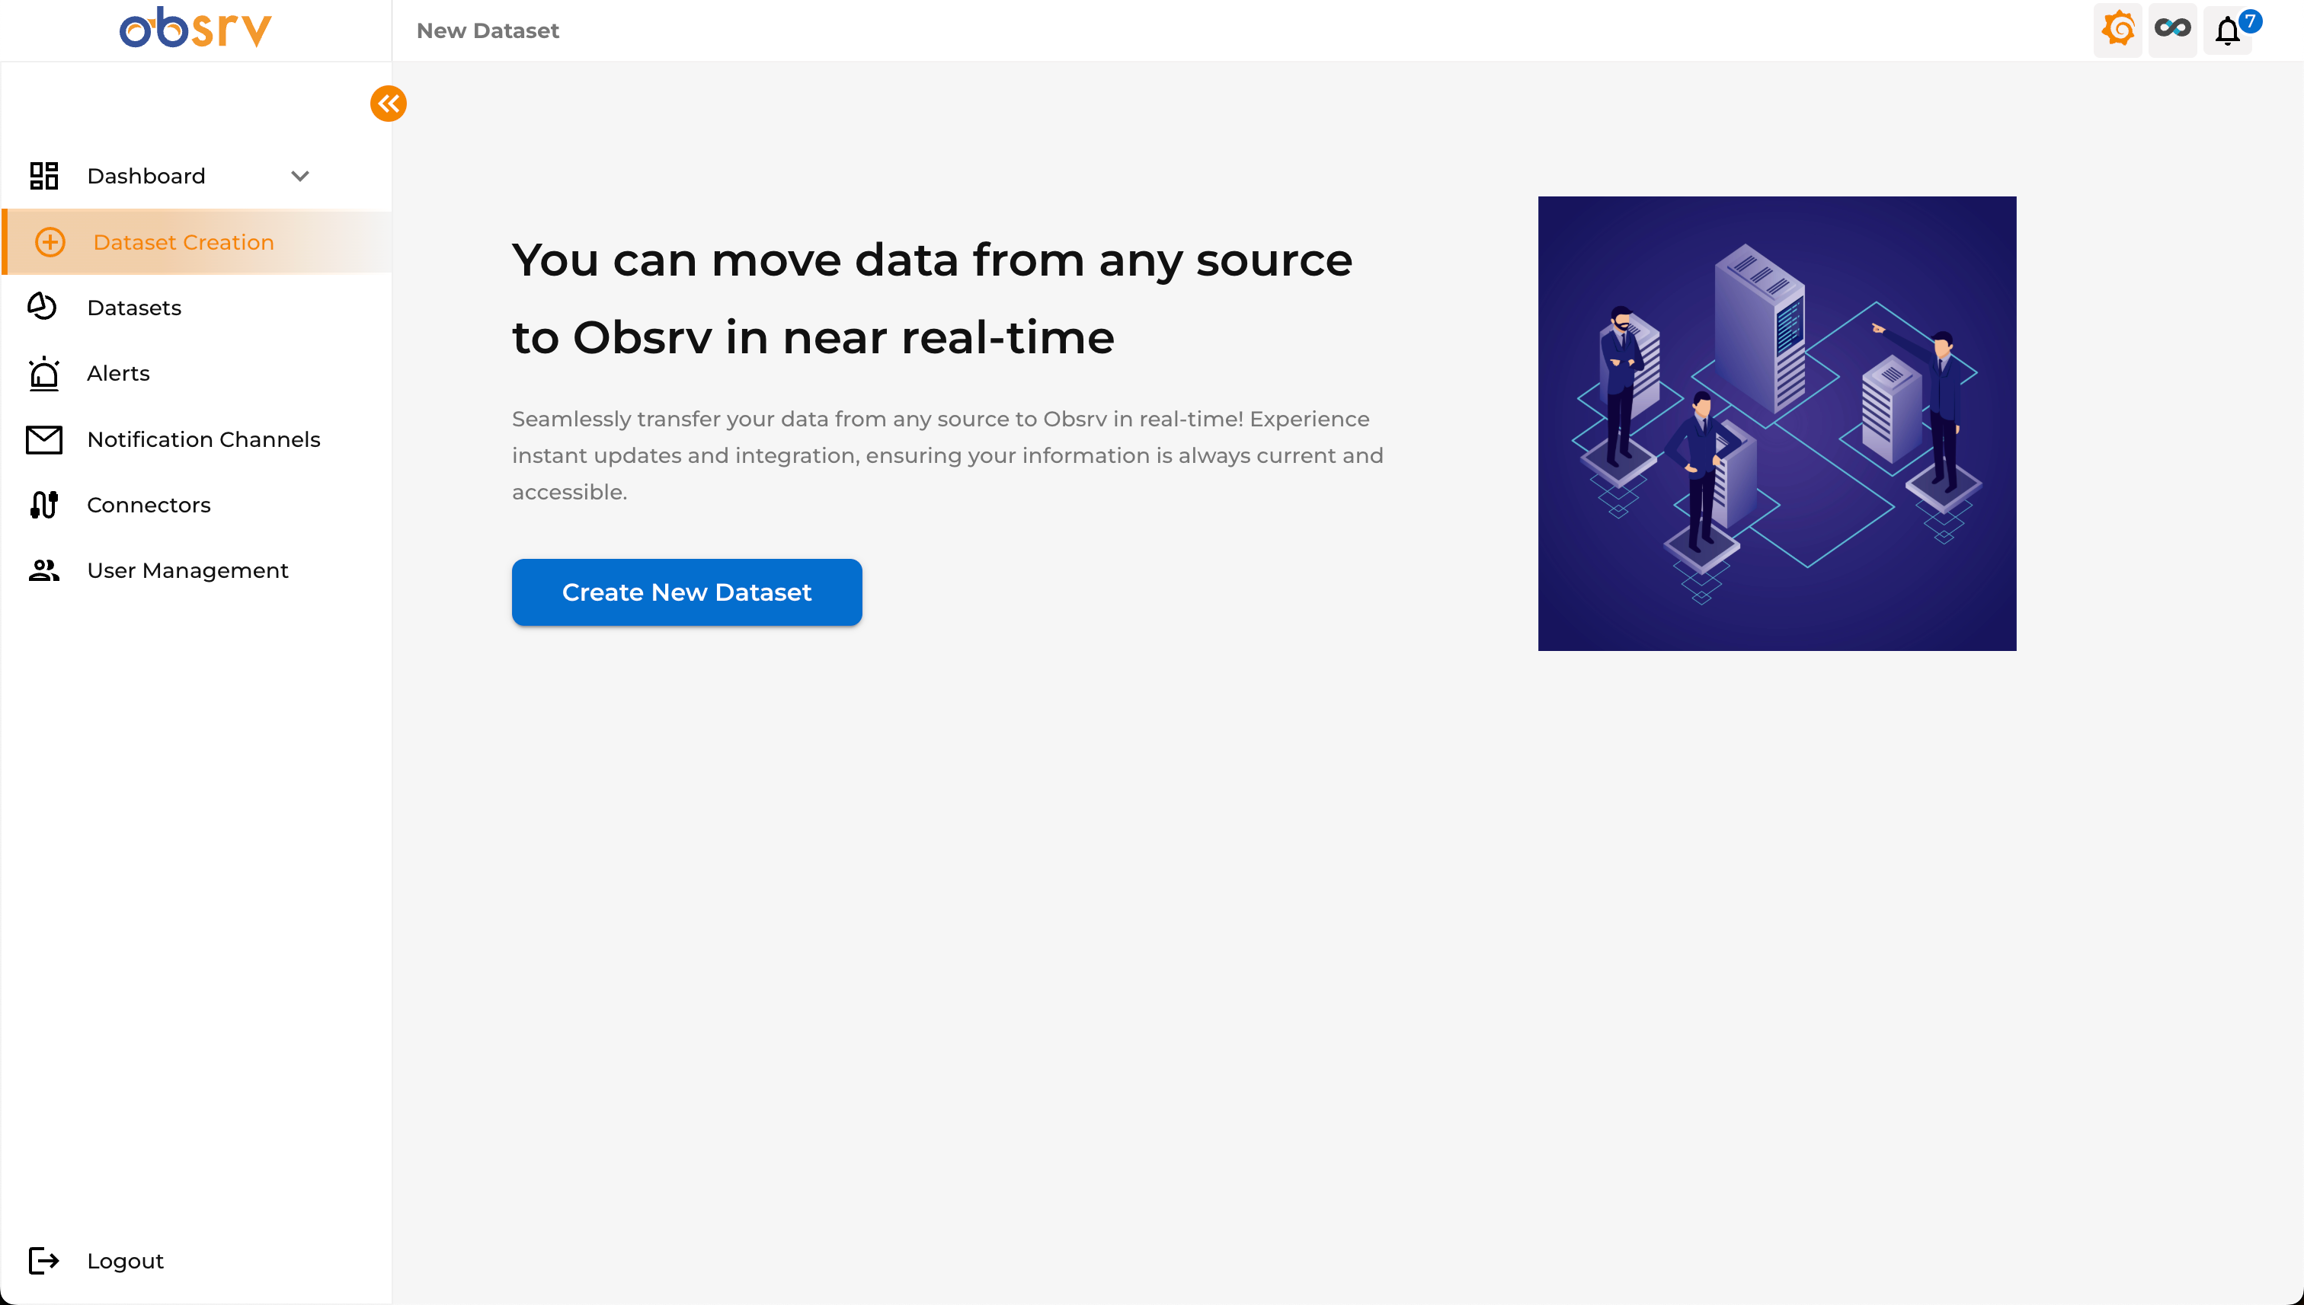
- You will land on the “New Dataset” page.
- Click the Create New Dataset button to begin the setup wizard.
8. Connector Selection
Section titled “8. Connector Selection”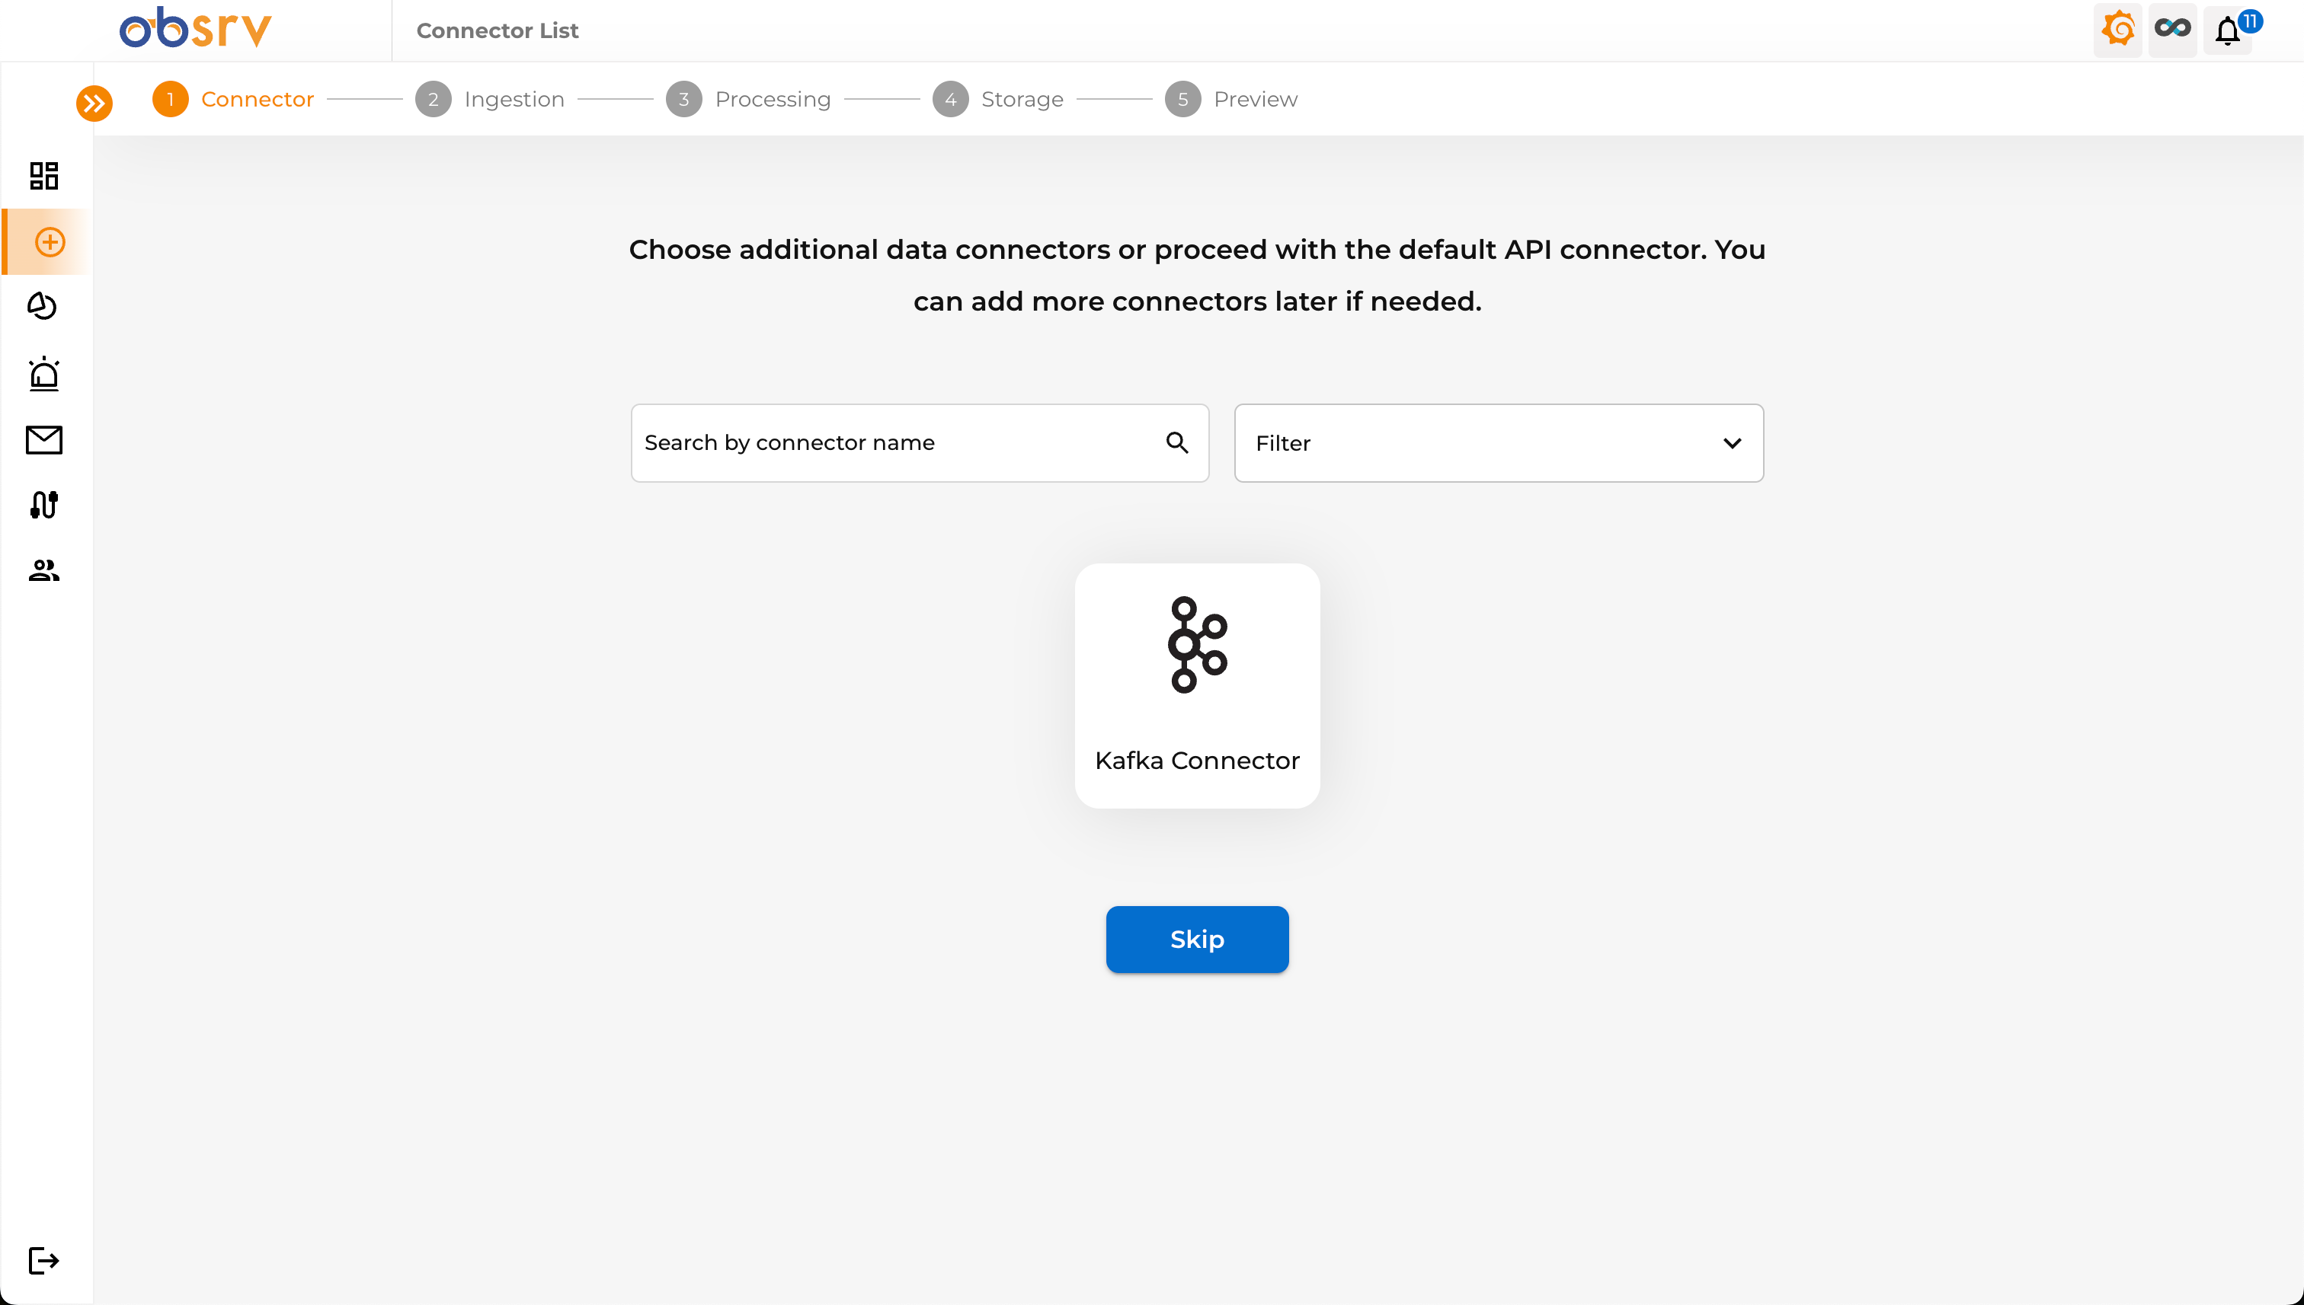
- The wizard starts at the Connector Step (Step 1).
- This step allows you to choose a specific data connector for your dataset.
- Select the Kafka Connector that you added earlier and click Proceed.
9. Connector Configuration
Section titled “9. Connector Configuration”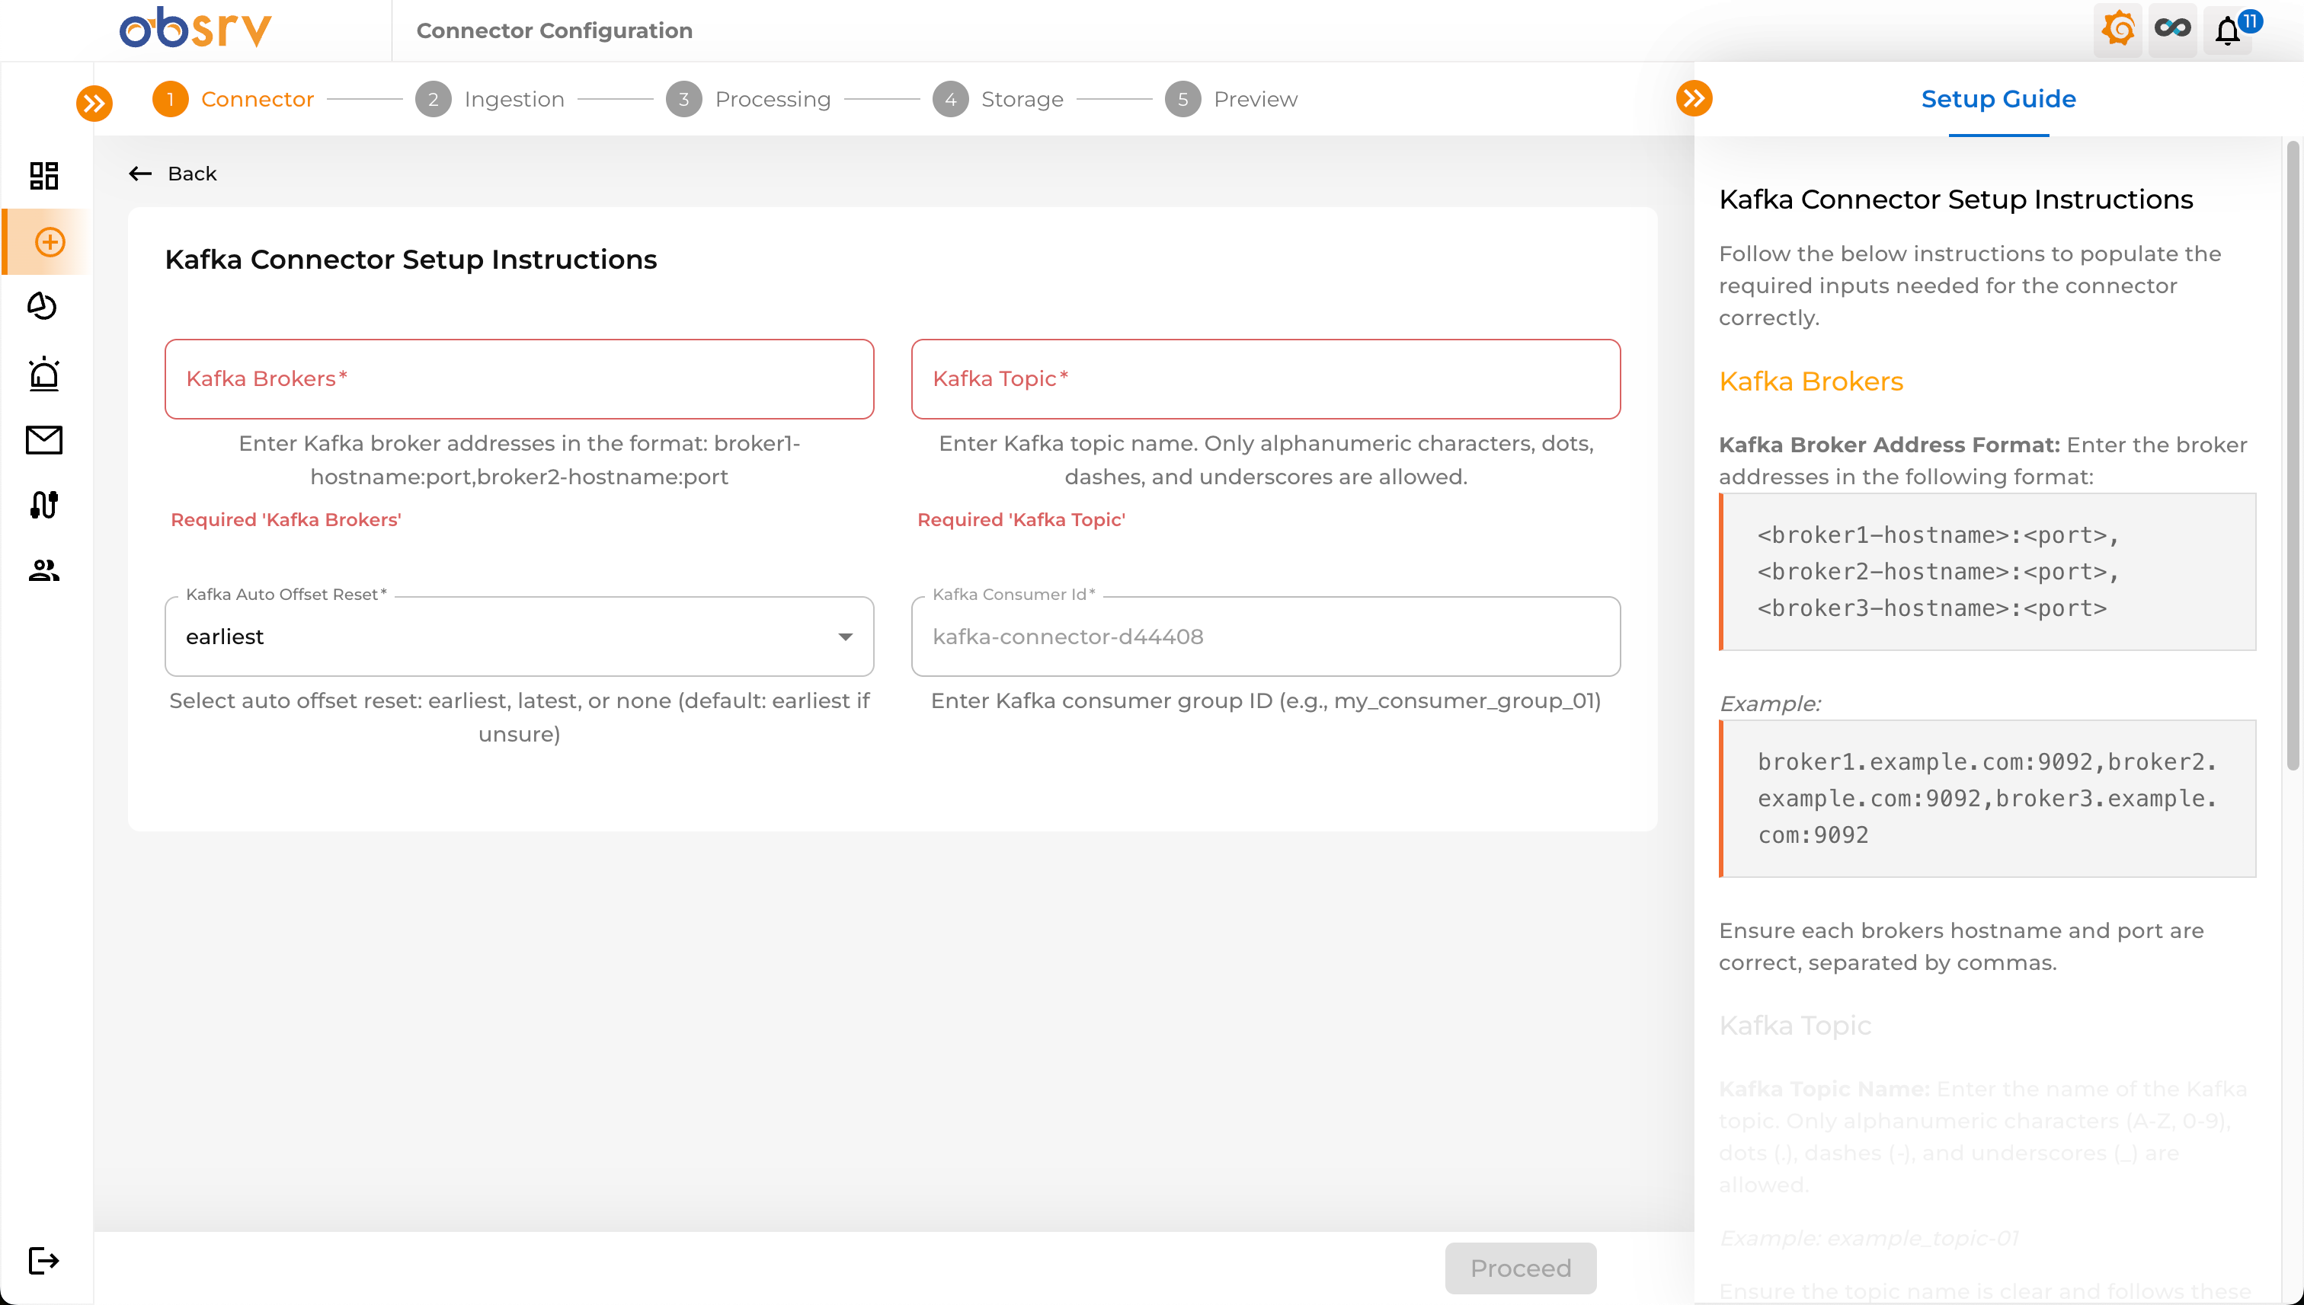
- You will now enter the Connector Configuration page.
- Each connector will have a unique set of details you will need to fill in. Follow the setup guide provided on the right-hand side to fill all the details.
- Upon completing the setup, the Proceed button will activate. Click the button to continue, follow this document to learn more about how you can .