Notification Template Setup Guide
This Document provides a detailed overview on how to create notification template in Grafana.
Introduction
Section titled “Introduction”Creating notification templates in Grafana ensures alert messages are clear, structured, and easy to understand, helping teams respond faster and more effectively. Notification templates allow you to customize the content of your notifications, such as the subject of an email or the body of a Slack message. This makes alerts more informative and consistent, clearly explaining the cause and context of issues in a standardized way.
Basic Guide to Creating Custom Notification Templates
Section titled “Basic Guide to Creating Custom Notification Templates”1. Navigate to the Contact Points
Section titled “1. Navigate to the Contact Points”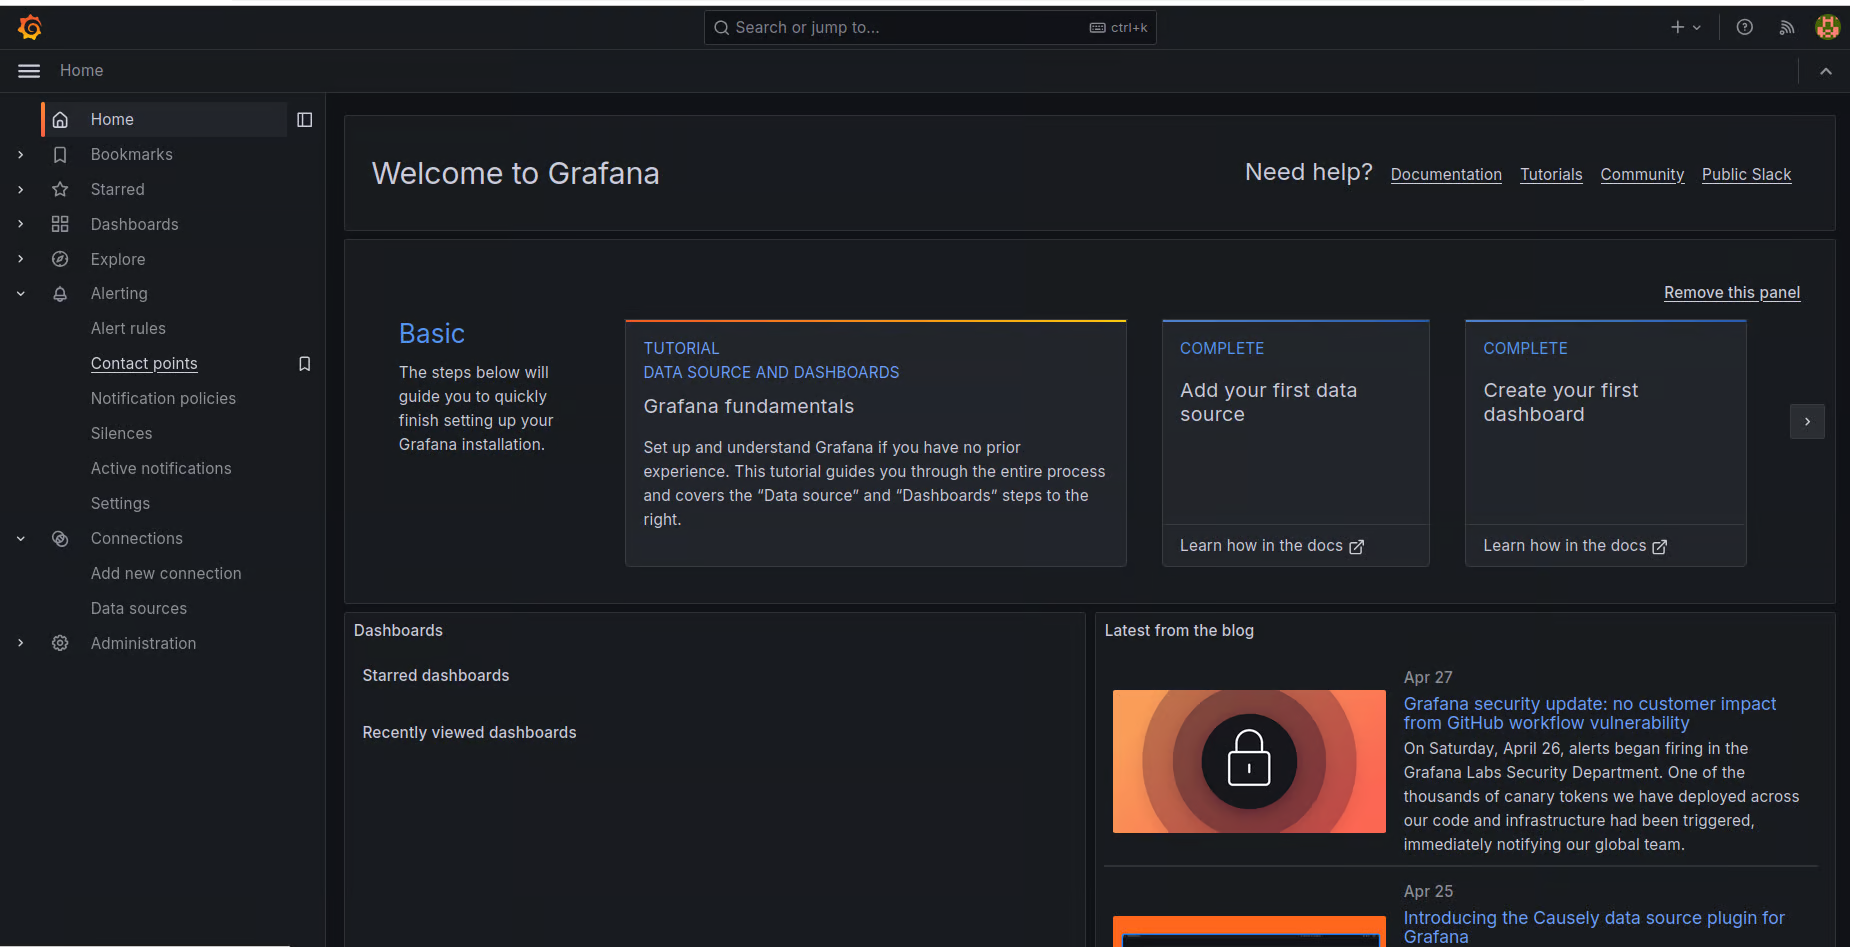
- From the main menu, locate the left-hand navigation menu.
- Click on the Contact Points option under the Alerting dropdown.
2. Add New Notification Template
Section titled “2. Add New Notification Template”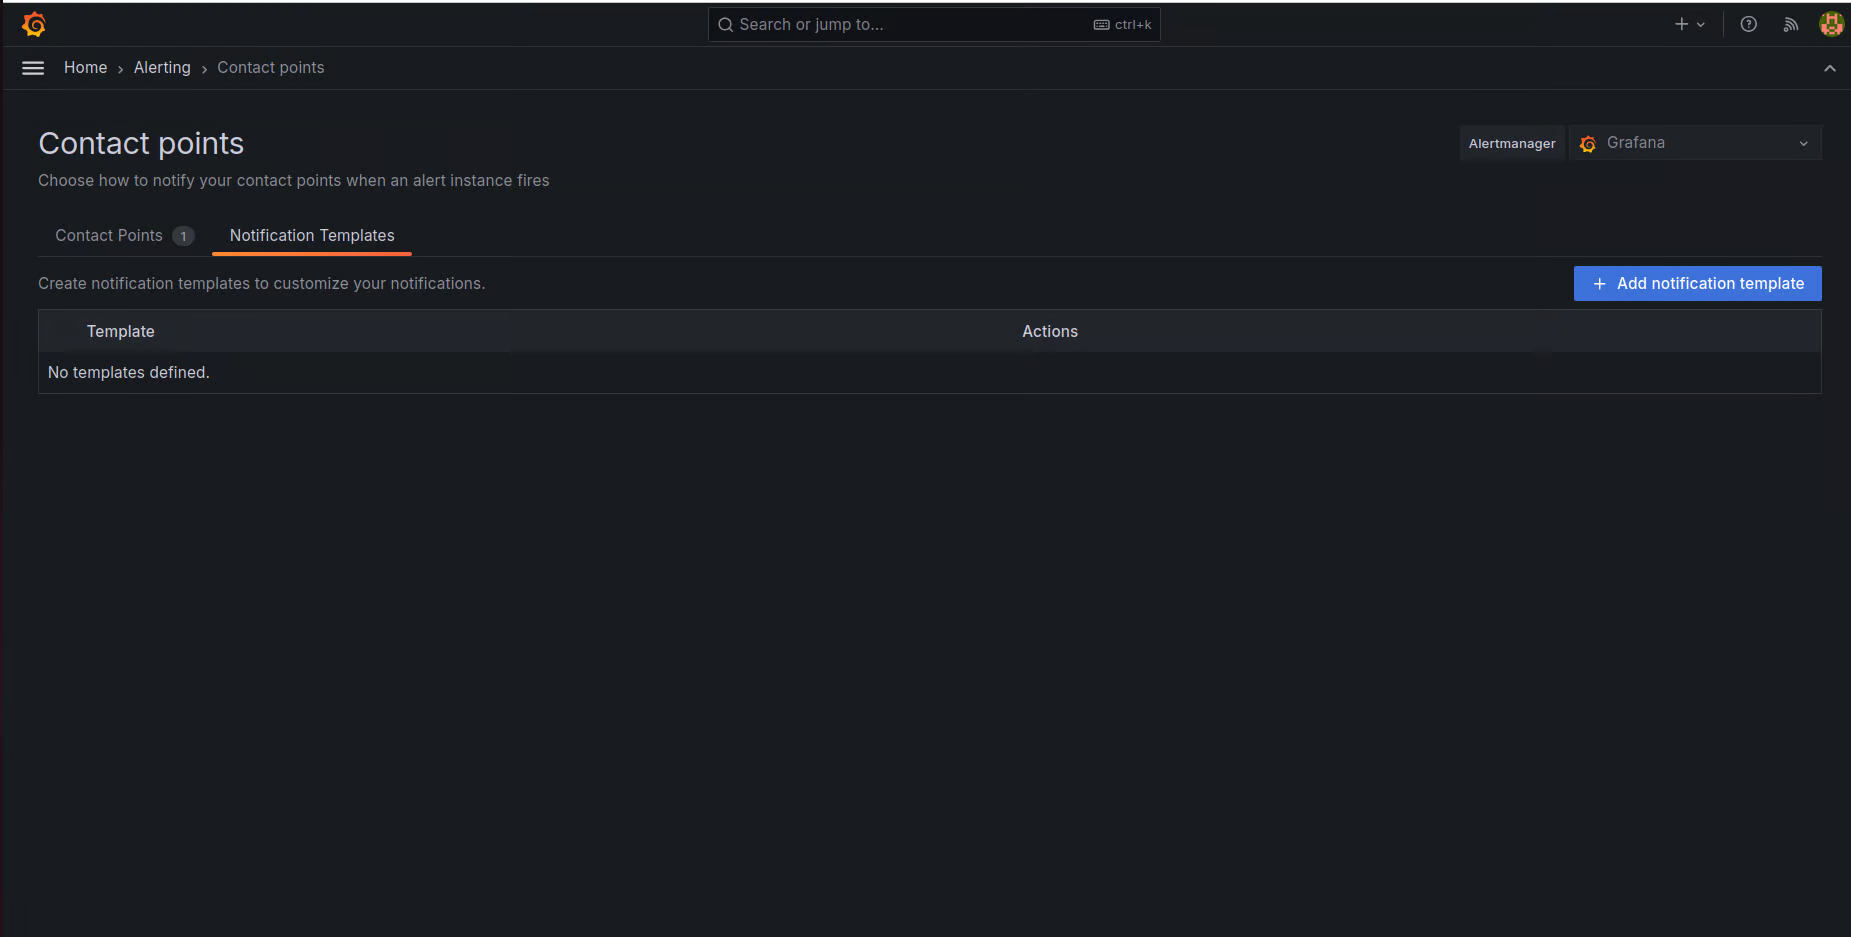
- Click on Notification Templates beside the Contact Points.
- Click Add Notification Template to create the new notification template.
3. Define and Test the Template Output
Section titled “3. Define and Test the Template Output”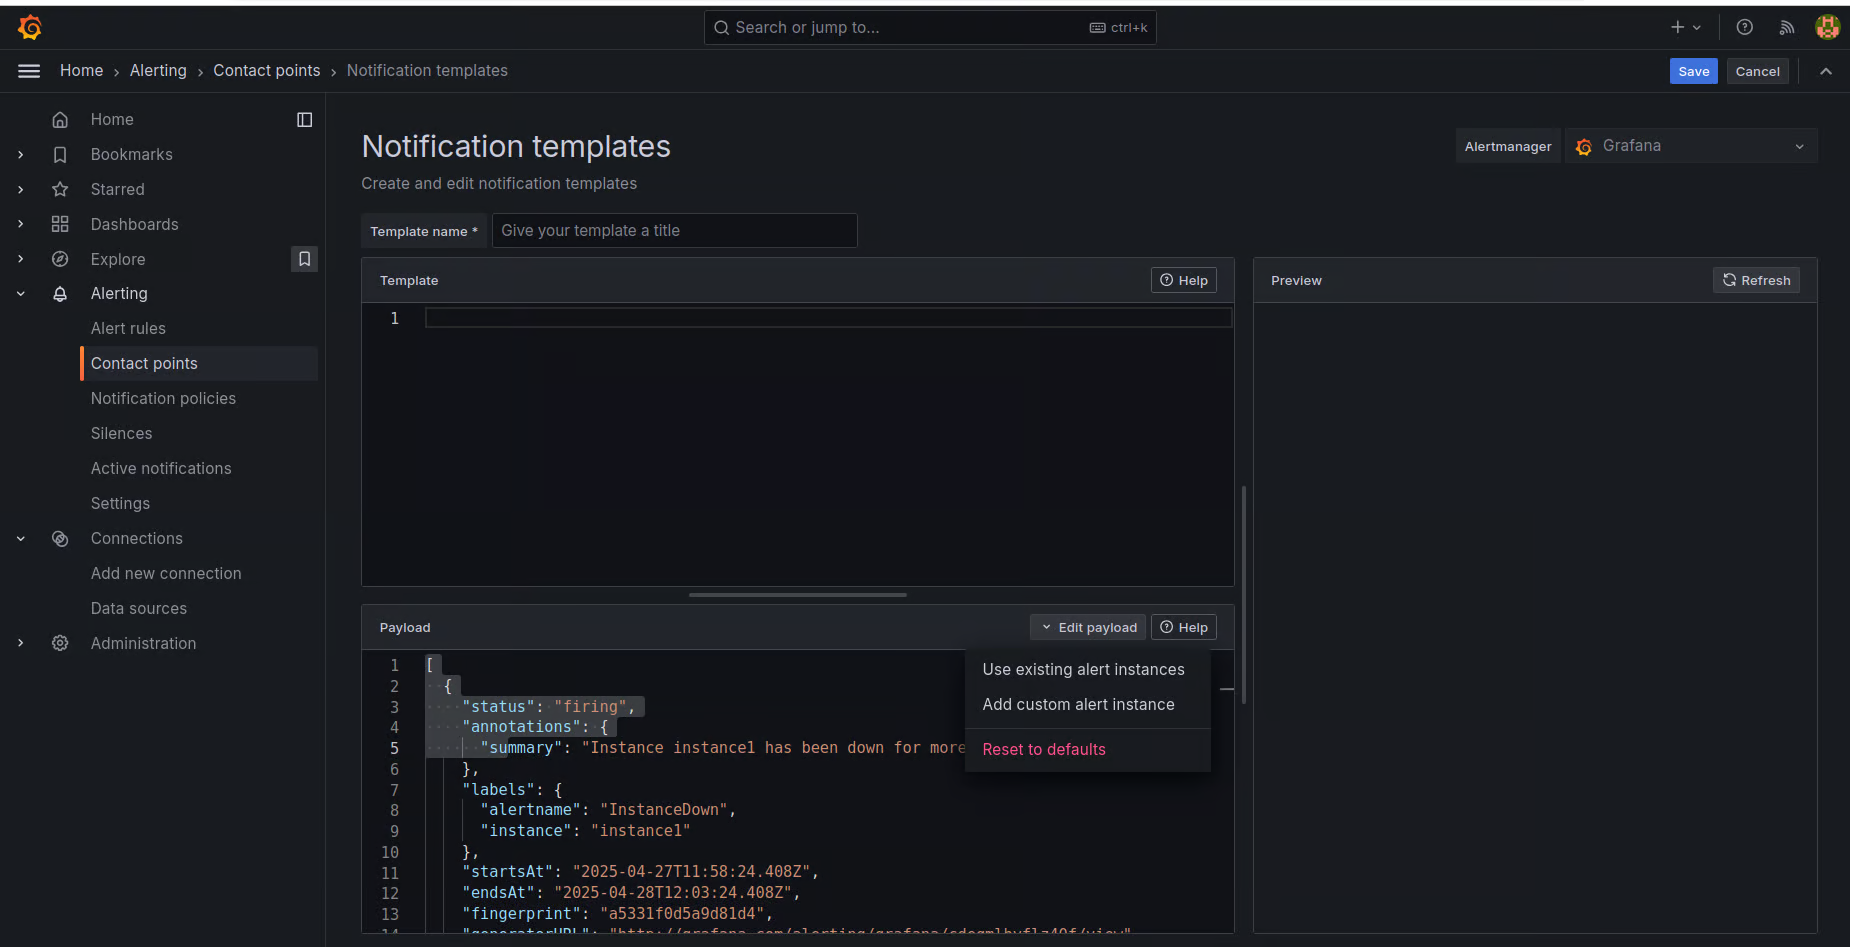
- Enter a Name: Provide a meaningful name for your notification template.
- Edit Payload: Click on Edit Payload to start customizing the template.
- (Optional) Use Existing Alert Data:
- Select an Existing Alert Instance: From the dropdown, choose Use an existing alert instance.
- Pick Firing Instances: Select one or more firing instances associated with the chosen alert rule.
- Add Alert Data to Payload: Click on Add the alert data to payload to include the relevant alert information into your template.
- Format the Template: In the Template field, use only the necessary fields from the payload to define how your notification message should be structured and displayed.
- Preview the Template: Click on Preview (located at the top-right corner) to view how the notification message will appear.
- Review and Save: Review the output carefully, make any necessary adjustments, and save the template.
To know more about the templating, refer to the Alerting template language.
4. Attach Notification Template to a Contact Point (Optional)
Section titled “4. Attach Notification Template to a Contact Point (Optional)”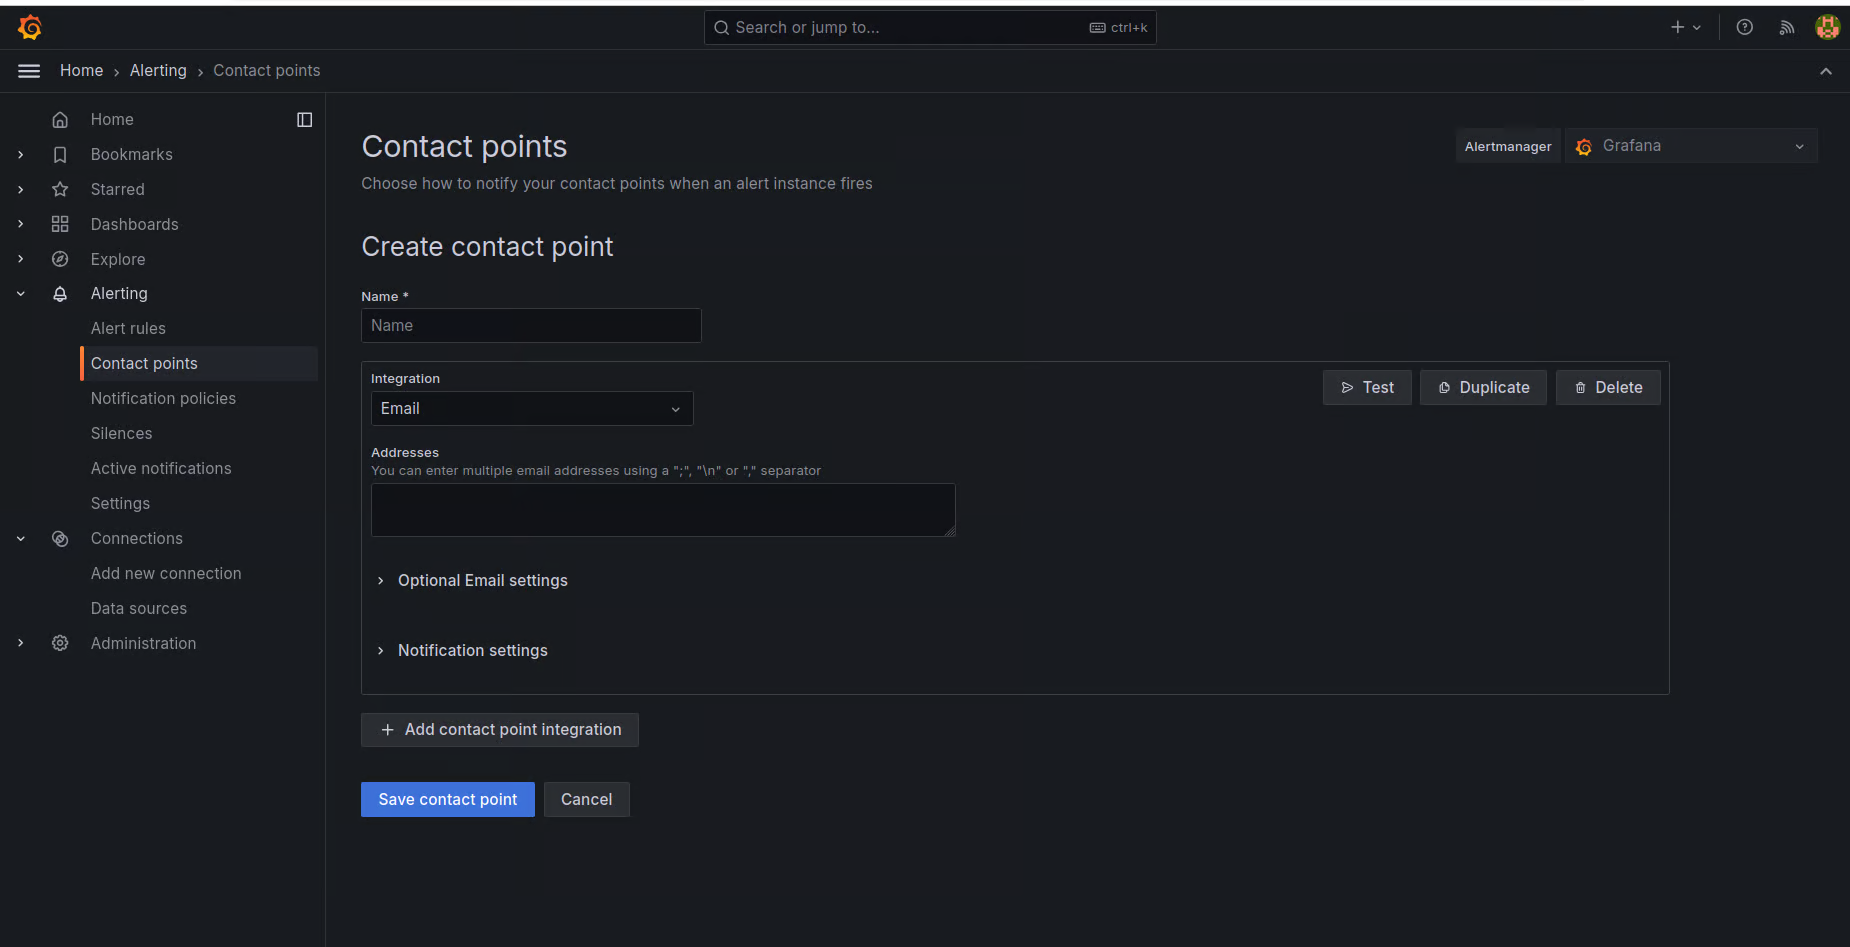
- On the Contact Points tab, find and open the existing contact point where you want to apply the notification template.
- From Integration, select a type and fill out mandatory fields. For example, if you choose email, enter the email addresses.
- In Optional settings, click “Edit Message”, select “Select existing notification template”, and choose the template you created earlier.
- Once all the necessary and optional settings are configured, save the contact point.
- Once the alert is triggered, the customized notification template will be applied and can be viewed in the email body and subject as per the selected templates.